1. Physical setup
Use a compatible Android phone with Camera2 support, a macro or microscope attachment and stable support. Clean the lens, place the phone so it cannot move during a burst, and keep the subject flat when possible.
Lighting
Use broad, diffuse light for reflective surfaces. The phone LED can improve brightness, but direct light may hide scratches or silkscreen under glare. Compare the Original and Anti-glare views before saving.
2. Capture workflow
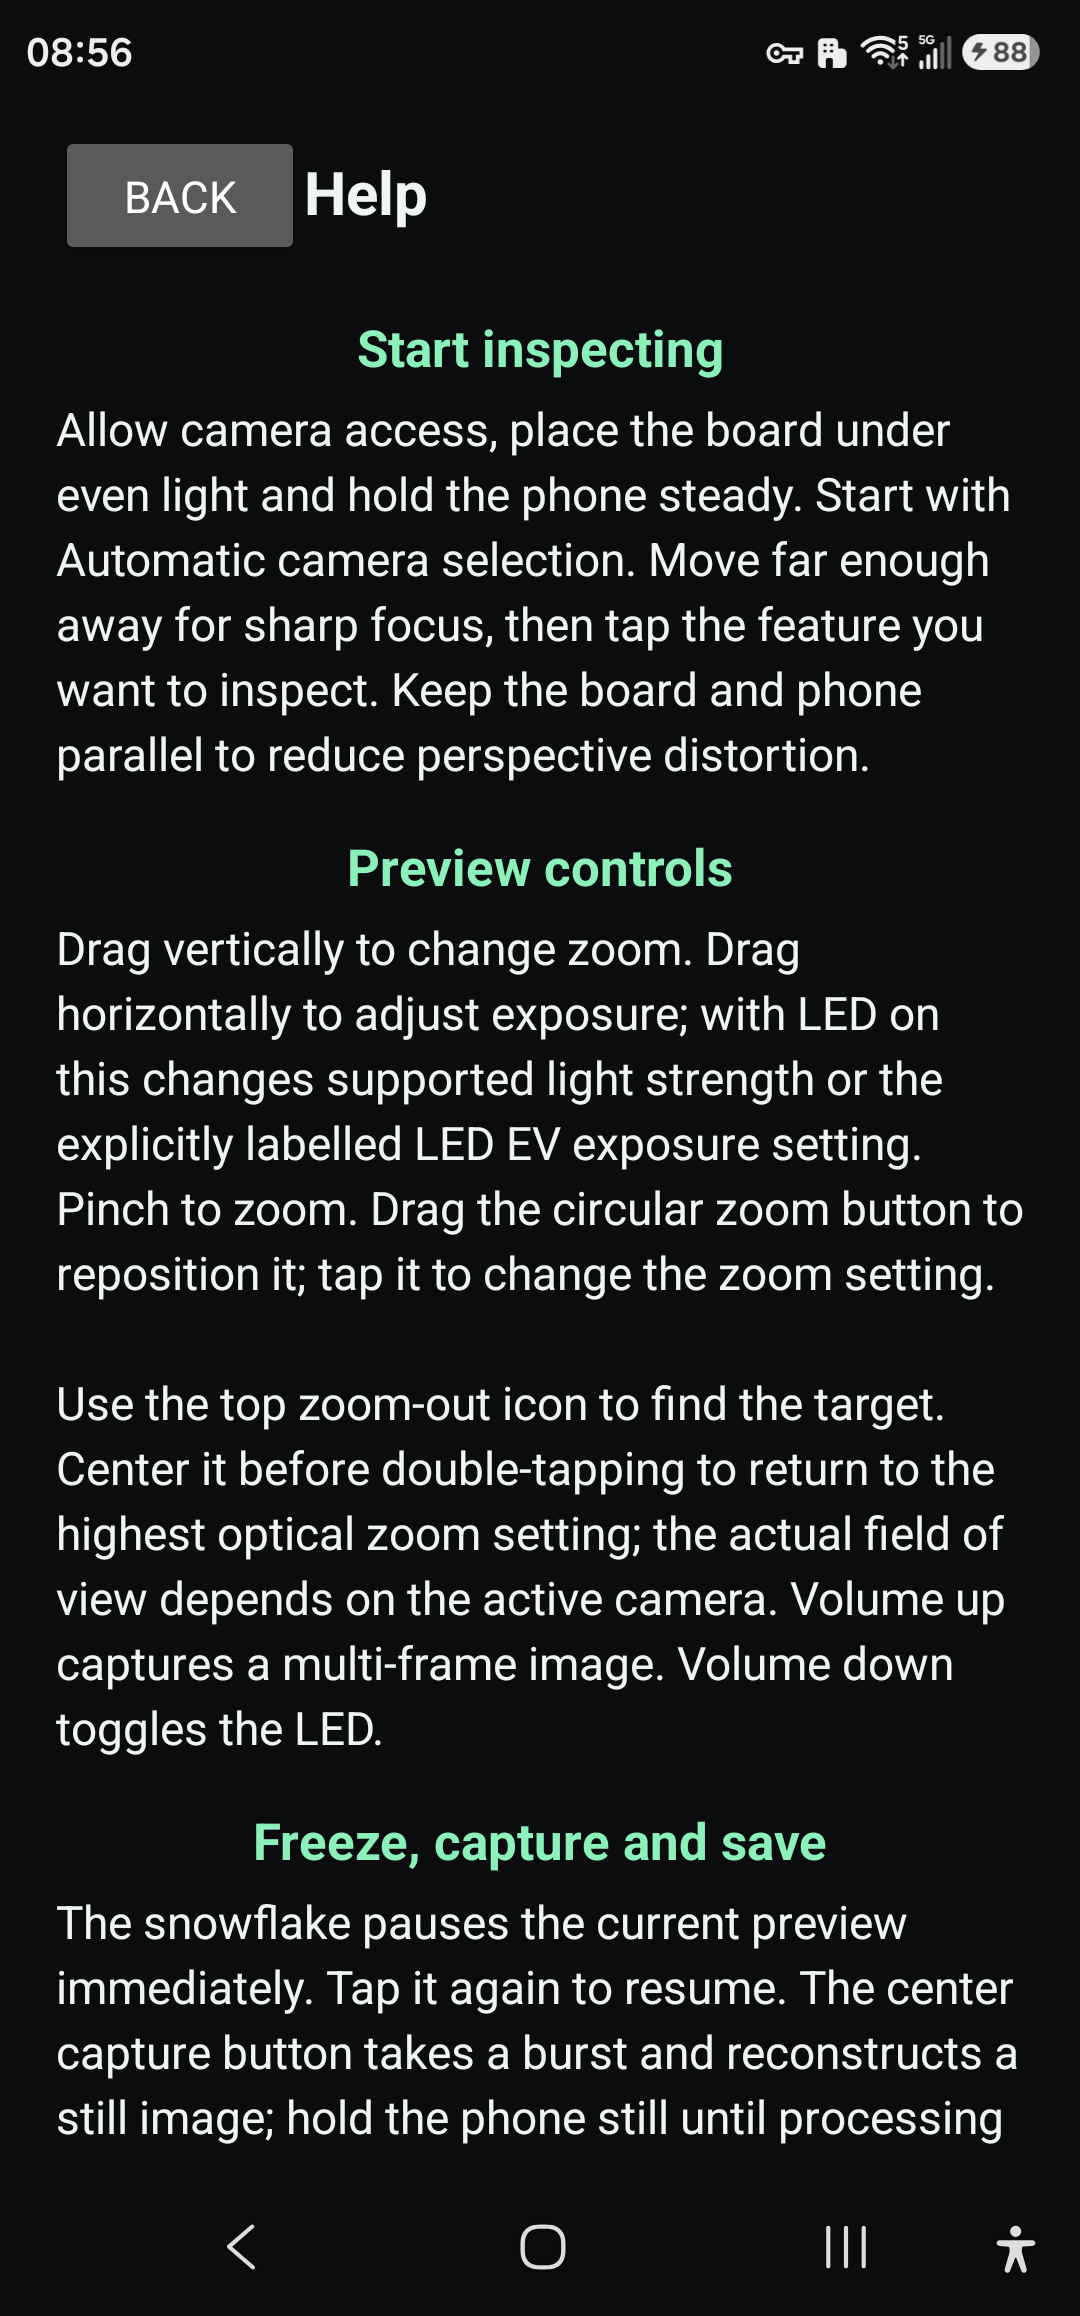
Center the subject, choose the closest optical lens that can focus, tap the point of interest, and wait for the live image to settle. Tap the central capture control to start the frame burst. Keep the phone and subject still until processing finishes.
10× optical magnification requires compatible phone hardware. The phone must expose a suitable telephoto camera and its capabilities through Camera2. On unsupported devices, Android or the app may select a different lens and show Lens fallback. A displayed zoom value is not proof that a physical 10× camera is active, and digital zoom does not add optical detail.
If registration detects excessive motion, the app keeps the sharpest source frame instead of inventing detail. A “Safe reference” result is therefore a protective outcome, not a failure.
3. Inspection tools
Focus peaking
Highlights strong local edges to help judge the focus plane. It is a viewing aid and is not written into the saved evidence image.
Grid and ruler
The grid supports alignment. The ruler reports pixels until you calibrate a known length in the current optical setup. Recalibrate whenever distance, lens or zoom changes.
DNG evidence
On supported cameras, long-press the save control to capture a sensor DNG. RAW availability and physical camera access vary by manufacturer.
Image effects
Effects are inspection views. Save as a copy if you need both the original record and an enhanced derivative.
4. Purchase and restore
The free edition displays advertising. “Remove ads permanently” is a one-time Google Play product, not a subscription. Purchases are tied to the Google account used in Play. Open Settings → Purchase & restore to buy or restore the entitlement on another compatible device.
5. Troubleshooting
The camera cannot start
Grant camera permission, close other camera apps and reopen 10X Microscope Inspector. If a forced physical telephoto lens is unavailable, return lens selection to Automatic.
The result is soft or distorted
Reduce vibration, improve diffuse light, use a lower optical/digital zoom and confirm the attachment working distance. Moving liquid, flexible material and handheld capture may prevent reliable registration.
My purchase is not detected
Confirm that Google Play is signed into the purchasing account, check network access, then use Restore Google Play purchase. Reinstalling the app does not cancel ownership.
Where are files saved?
JPEG records are saved under Pictures/X10Scope. Optional DNG files are under Pictures/X10Scope/RAW and may require a RAW-capable viewer.
Still need help? Send feedback or email support@gaoerji.net.